
Want to record important Reportei Timeline milestones automatically whenever a sale is made or a subscription is created in Hotmart? Pluga lets you set up this automation in a few minutes without writing code.
This automation is useful for digital creators, course sellers, and marketing teams that want a visual history of product sales and key events in Reportei reports and dashboards.
Before you start
Make sure you have active accounts with Pluga, Reportei, and Hotmart.
You need a Reportei API access token, your Hotmart API credentials (Client ID and Client Secret), and a configured Reportei project.
Step by step
1. Open Pluga and click “Sign in”, or “Sign up” if this is your first visit
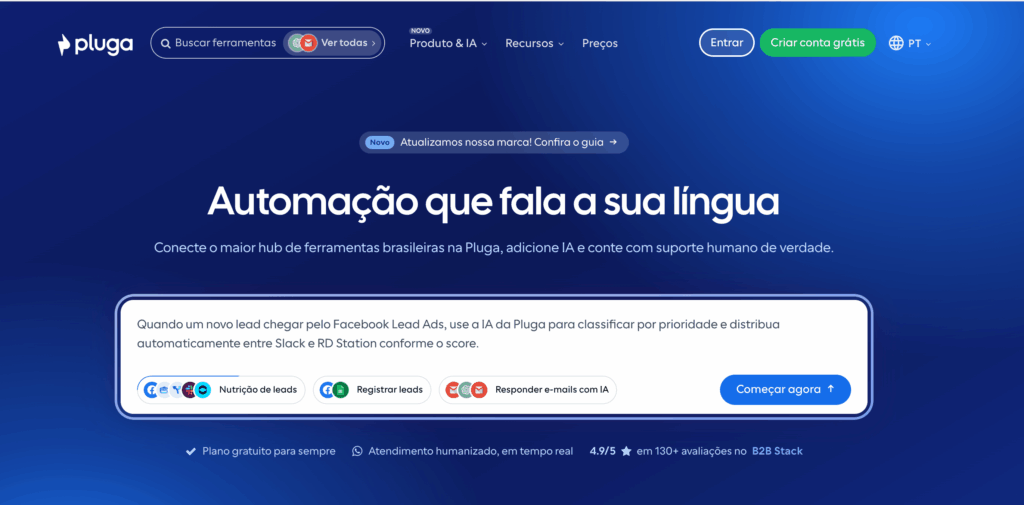
2. Select the tools
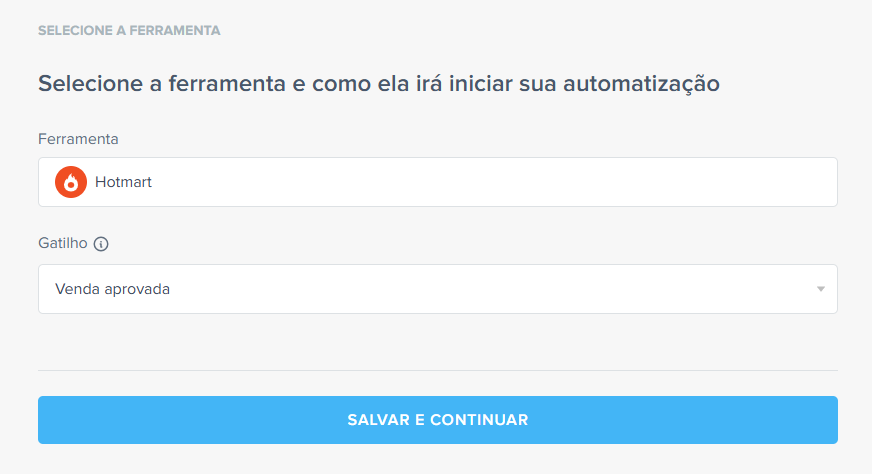
On Pluga’s home page, click “Create automation”. Choose Hotmart as the source tool and select a trigger:
Sale approved: each approved Hotmart sale
Sale completed: each completed Hotmart sale
Subscription created: when a Hotmart subscription is created
Cart abandoned: each abandoned Hotmart cart
For this example, choose “Sale approved” to record a milestone when a sale is confirmed.
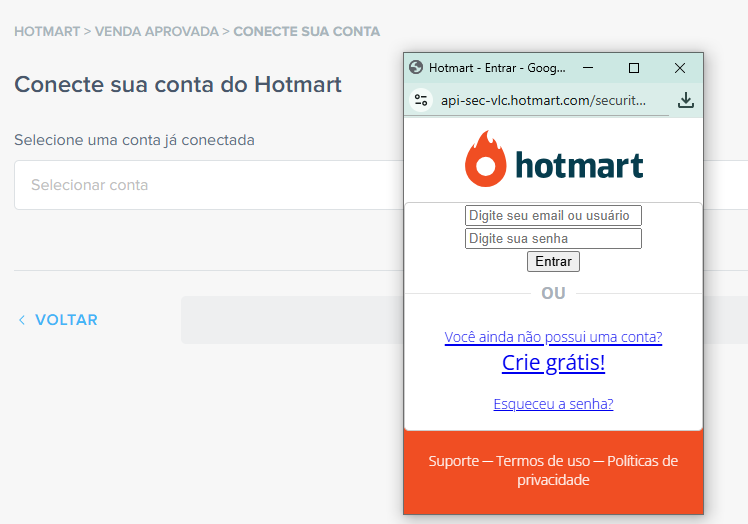
3. Connect your Hotmart account
Sign in to your Hotmart account.
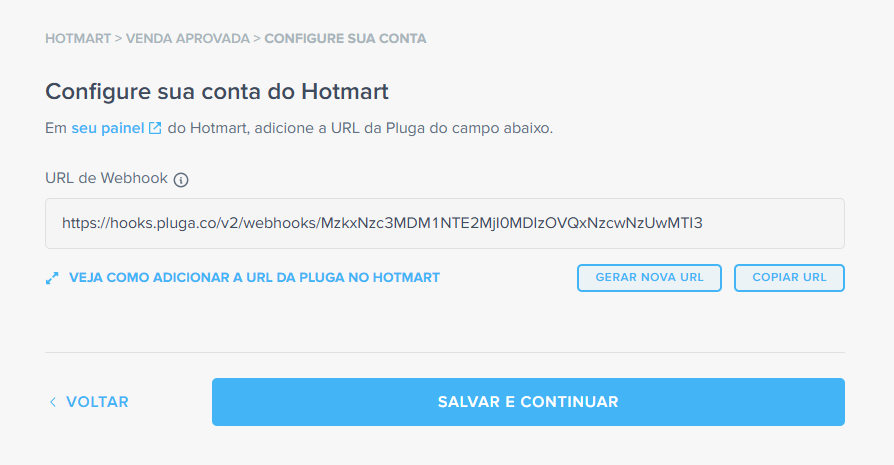
4. Configure your Hotmart account
Add the webhook URL generated by your automation to the Hotmart dashboard. If you need help finding your credentials, click “See the step-by-step guide to finding your access keys” in Pluga. Paste the credentials into the fields provided and click “Connect new account”.
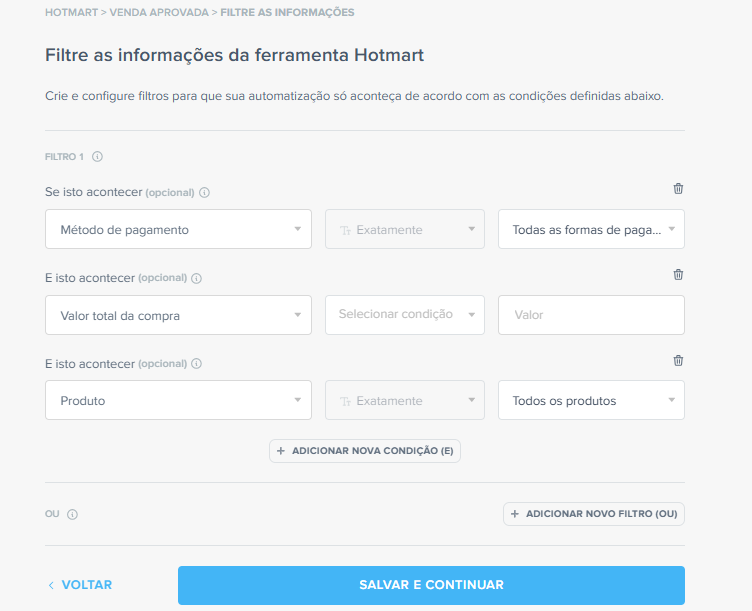
5. Apply filters if needed
Use filters to add milestones only in specific situations, such as when a sale exceeds a particular amount or a certain product is sold.
If you do not need filters, click “Save and continue”.
6. Select the destination tool
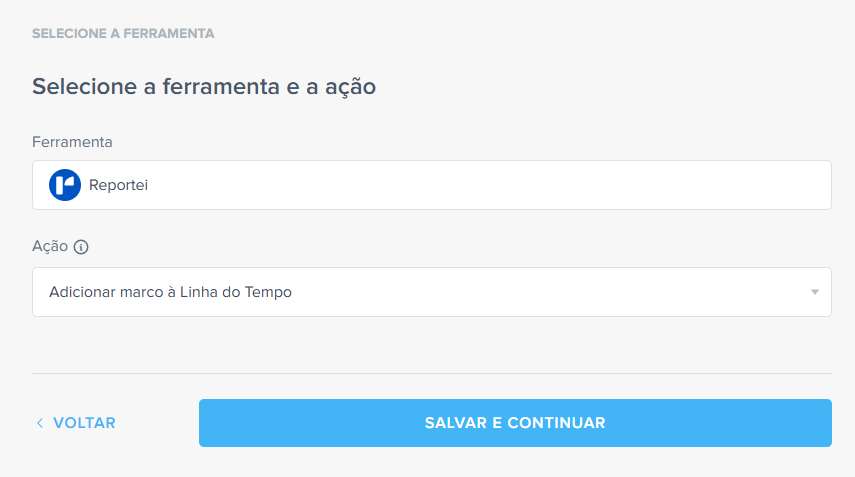
Select Reportei as the destination tool and choose an action:
Add milestone to Timeline: creates a new Reportei Timeline milestone
Create report: creates a new Reportei report
Create dashboard: creates a new Reportei dashboard. For this example, choose “Add milestone to Timeline”.
7. Connect your Reportei account
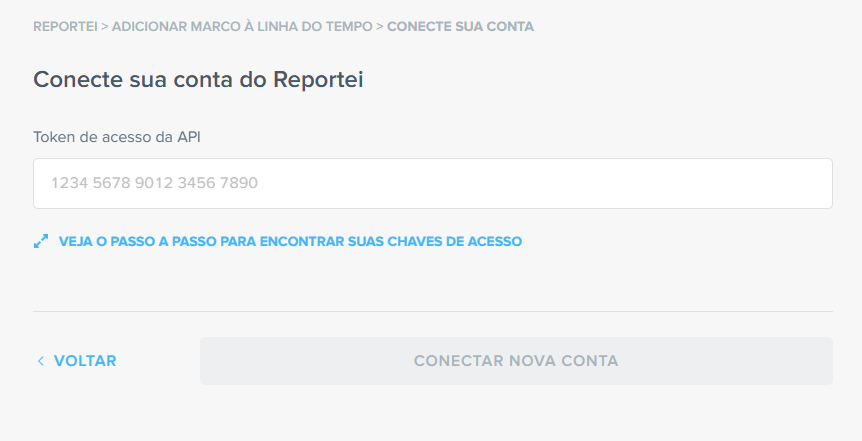
You need the API access token from your Reportei account. If you need help finding it, click “See the step-by-step guide to finding your access keys” in Pluga. Paste the token into the field provided and click “Connect new account”.
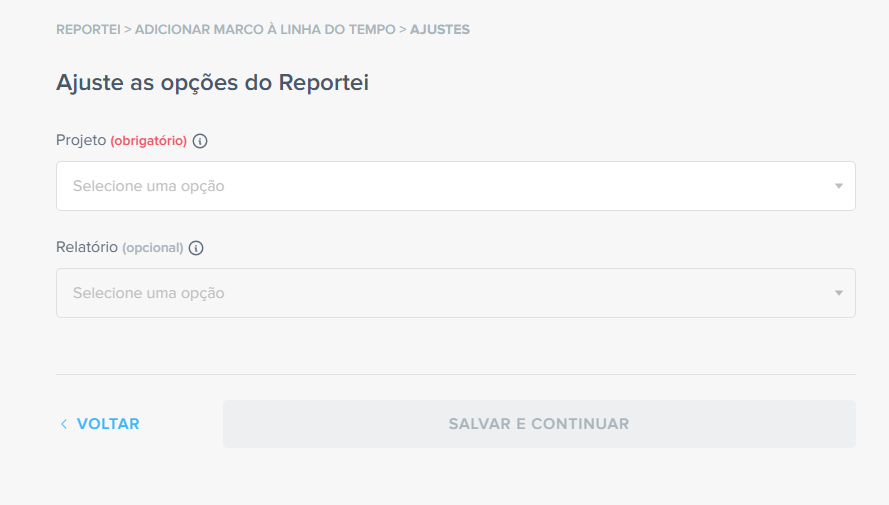
8. Configure the Reportei options
Select the project whose Timeline should receive the milestone. The project must already be configured in Reportei.
9. Customize the automation
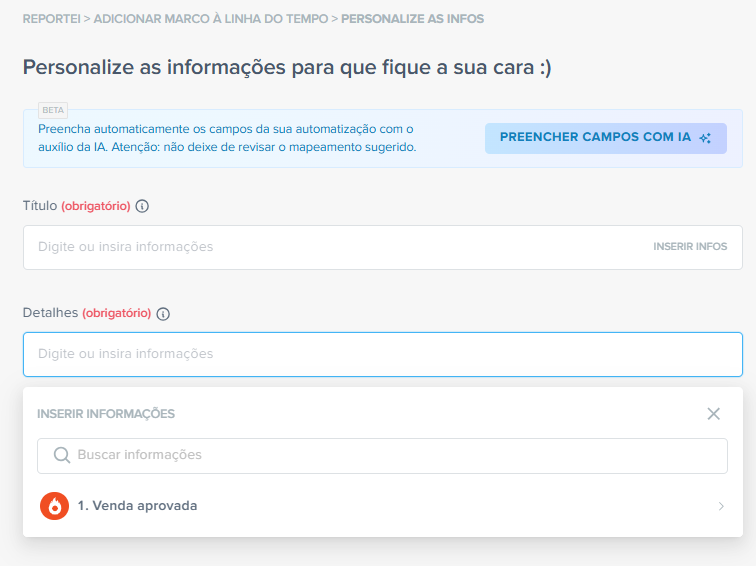
Map Hotmart fields to the corresponding Reportei milestone fields. The sale’s information will then become part of the Timeline entry.
You can map these fields:
- Title (required): define the milestone title. You can include dynamic Hotmart information, such as the product or buyer name.
- Details (required): add supporting information, such as the sale amount, payment method, or other relevant transaction details.
Important: you can use “Fill fields with AI” to map fields automatically, but always review the suggested mapping for accuracy.
10. Finish the automation
On the confirmation screen, click “Finish automation”. Choose “Connect new tool” to add further actions, such as a Slack notification or a spreadsheet entry.
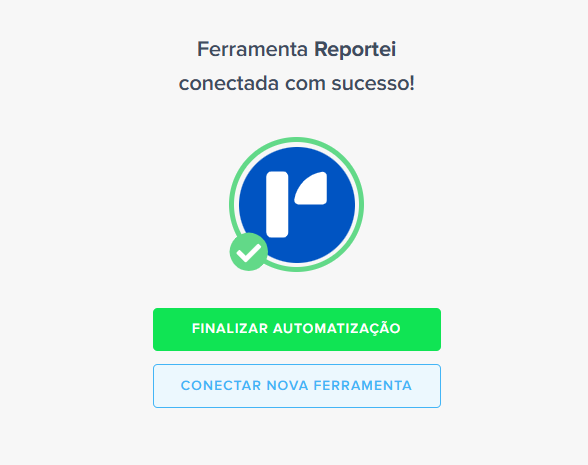
Now, whenever a sale is approved in Hotmart, a milestone is added automatically to the Timeline in Reportei.
Extra tips
Other Hotmart triggers
In addition to “Sale approved”, you can automate other important events:
- Sale canceled: record canceled sales
- Sale refunded: track refunds
- Subscription canceled: monitor subscription cancellations
- Cart abandoned: identify recovery opportunities
Create reports automatically
The same integration can create Reportei reports or dashboards when a Hotmart event occurs. Select the corresponding destination action instead of a Timeline milestone.
Combine with other tools
Record sales in both the Reportei Timeline and other tools, such as Slack or Google Sheets, or send an email so the information reaches the right people.
Useful links
• Explore Reportei and Hotmart automations in Pluga: pluga.co/ferramentas/reportei/integracao/hotmart
• Learn how to connect Pluga to Reportei: reportei.com/central-de-ajuda/como-integrar-a-pluga-ao-reportei
• Pluga Help Center: pluga.zendesk.com/hc/pt-br
If you have questions, contact our Support team! =)