When you sign up for Reportei for the first time, you will have 3 days to try it for free! It will be possible to know better the tool and its features to decide which plan is better. =)
Step 1: Add a Client
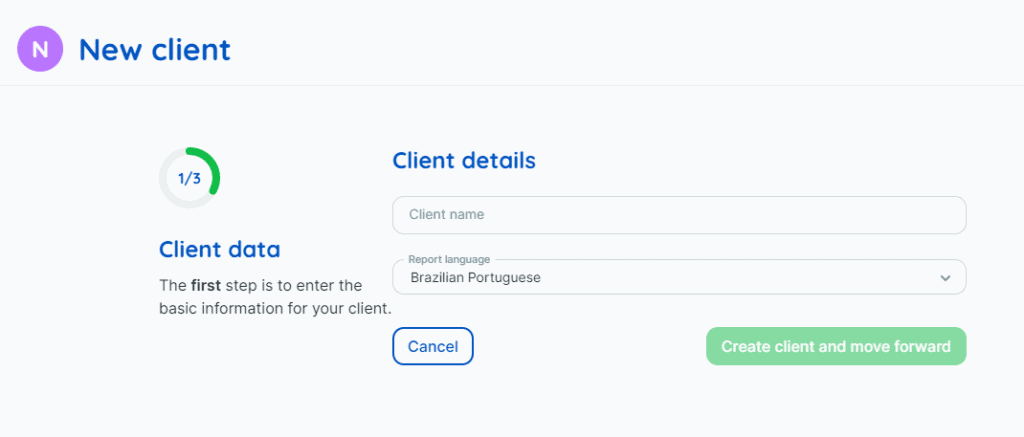
The software has an intuitive and very friendly interface. To add your first client, just enter the client’s name and the language in which you want to generate the reports:
Step 2: It’s time to integrate the accounts!
Currently, it is possible to generate reports from Facebook, Facebook Ads, Instagram Business, YouTube, LinkedIn, Linkedin Ads, Google Ads, Google Analytics, Google Analytics 4, Google My Business, Google Search Console and Mailchimp. So you’ll need to integrate all the accounts for that customer that you want to see in the reports.
If you want to integrate a Facebook account, we suggest you start with it:
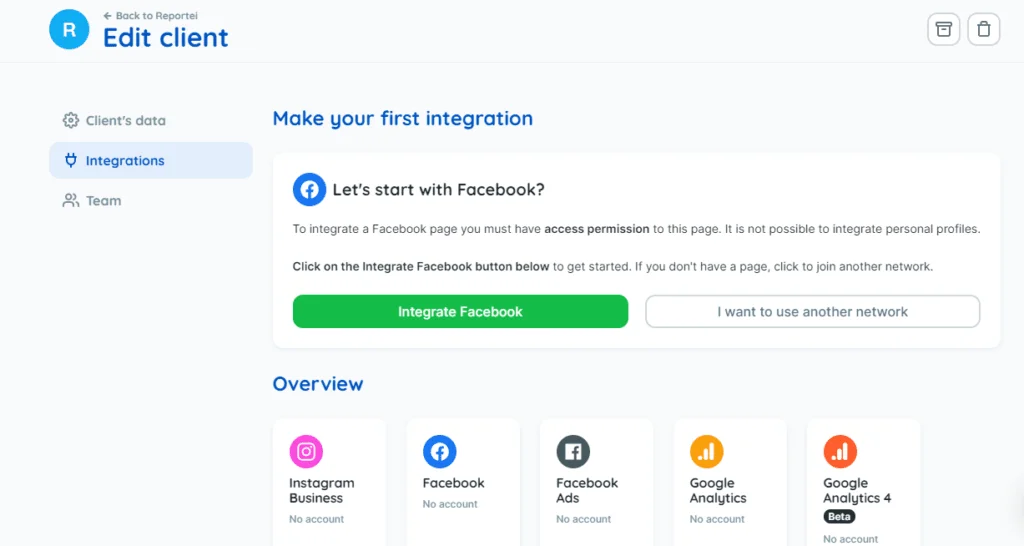 On Facebook you need to connect an account that has access as an administrator of your client page. If you manage multiple pages, they will all appear. However, you must select only the customer page. Facebook Ads is similar to Facebook if the clients’ ad account is managed by your ad account.
For the other networks you need to connect the account with login and password (at the time of integration you are redirected to the page of each network to login).
Remember: It is important to authorize access to Reportei integrated accounts. Only this way Facebook, Instagram, Google and other networks pass on the information for the generation of reports. Always keep integrated accounts up to date. If any account has a password or a change in privacy setting, reinstatement will be required to ensure that data continues to be sent for reporting. If you still have any questions at this step, just call our support team in chat. We’ll be happy to help! =)
Step 3: It is time to report!
The whole integration process is very fast and, amazingly, the report gets ready even faster. A few more clicks and you’ll be able to review and send the report to your client! = D
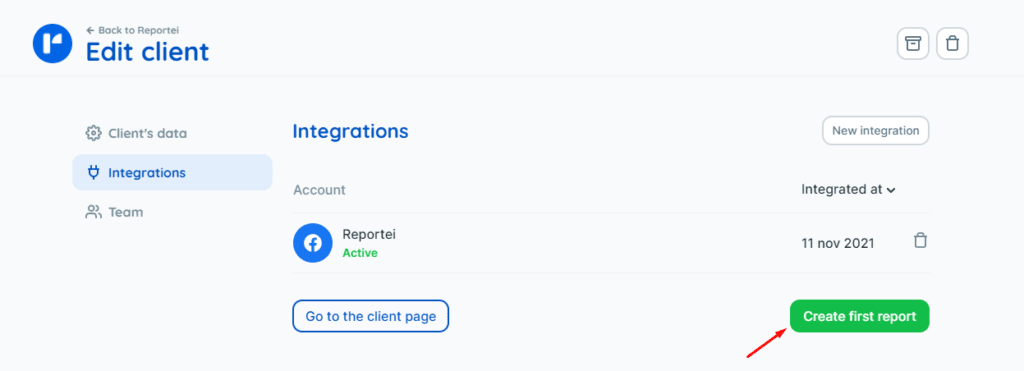
After integrating the sources, click on the “Create first report” button:
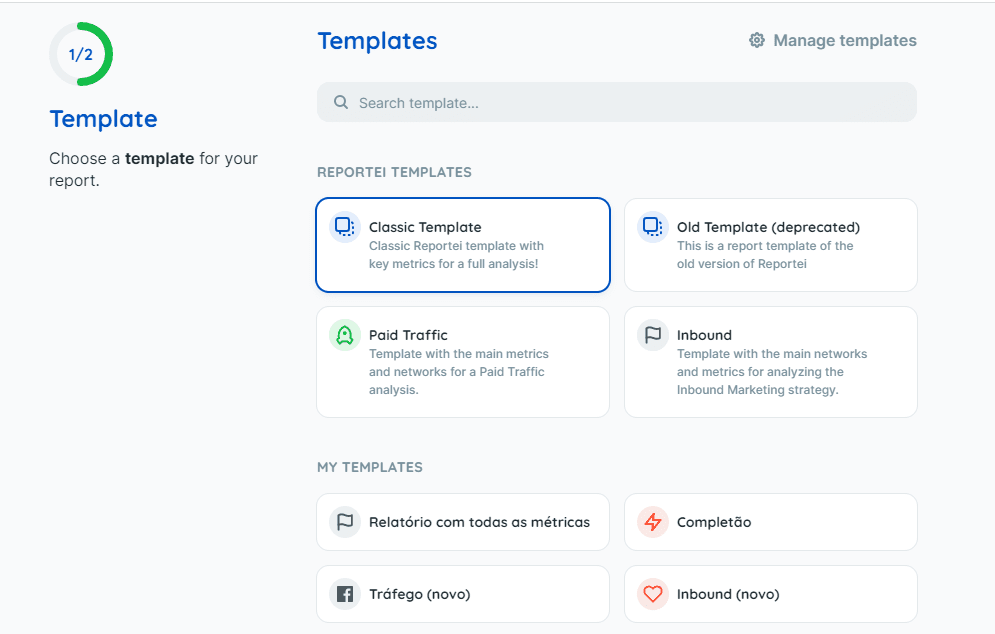
 After clicking, you will be taken to the template selection page, where you can choose the desired template. It will show the Reportei templates options. And in the future, the templates created by you will also appear.
Select one of the options to continue:
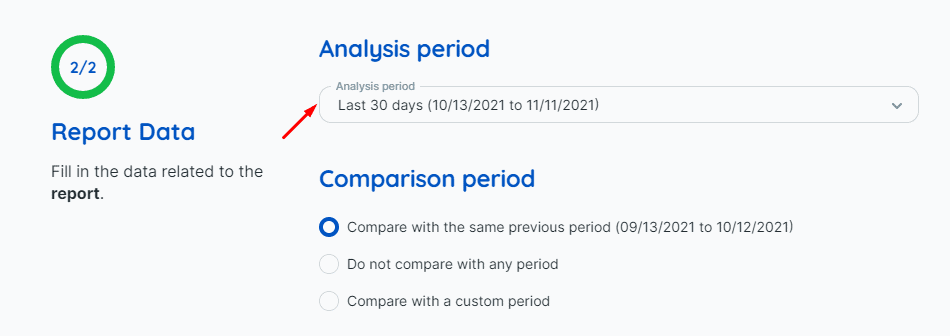
 After that, you can enter the period you want to analyze in this report. The system will automatically show the period of the last 30 days. But you can change both the analysis date and the comparison date, and even choose not to compare against any period.
Then select which sources you want to analyze.You can generate data from all sources integrated in a single report or generate a report from just one or a few of them.
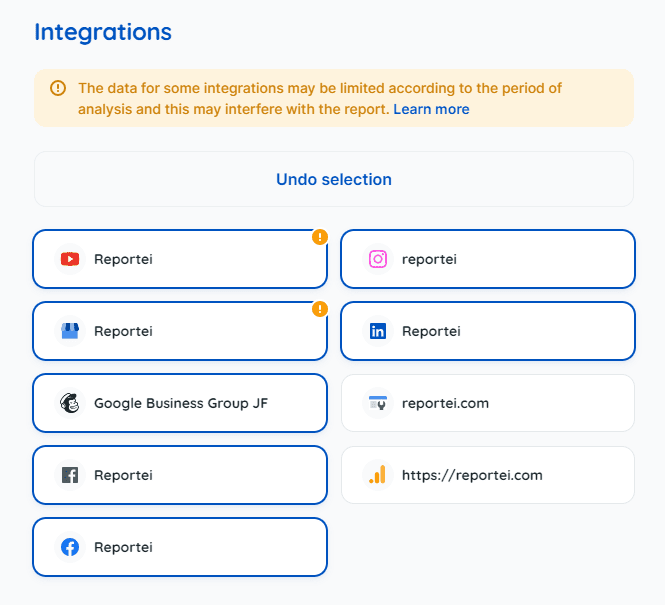
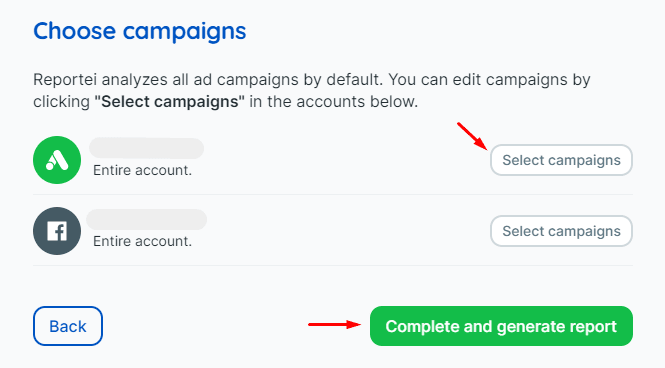
If you have selected any Ads accounts (Facebook, Linkedin or Google Ads) you will have the option to select whether you want to report the entire Ads account or select campaigns.
By default the entire account will appear selected. If you want, click on “Select campaign” and choose which ones you want to analyze. And finally, click on complete and generate report: