Reporting automation has come to Reportei to help increase your productivity even more. Now, you can configure your reports to be automatically generated and sent to your customer, your team analysts or simply to keep a history of the data and follow up whenever you need it.
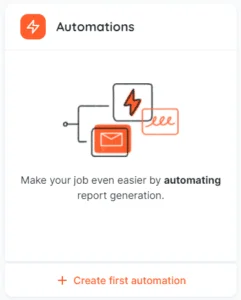
To use it, you must login to your Reportei account and enter your client’s page. There, you will find a box related to automations. Click the “Create First Automation” button to get started:
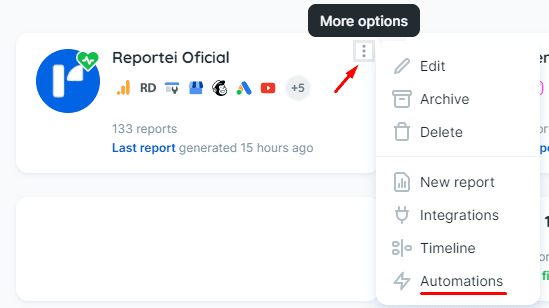
By clicking on “Automations”, you will be redirected to the area where your automations will be registered and should click on “New Automation”. From that moment on, four creation steps will be followed:
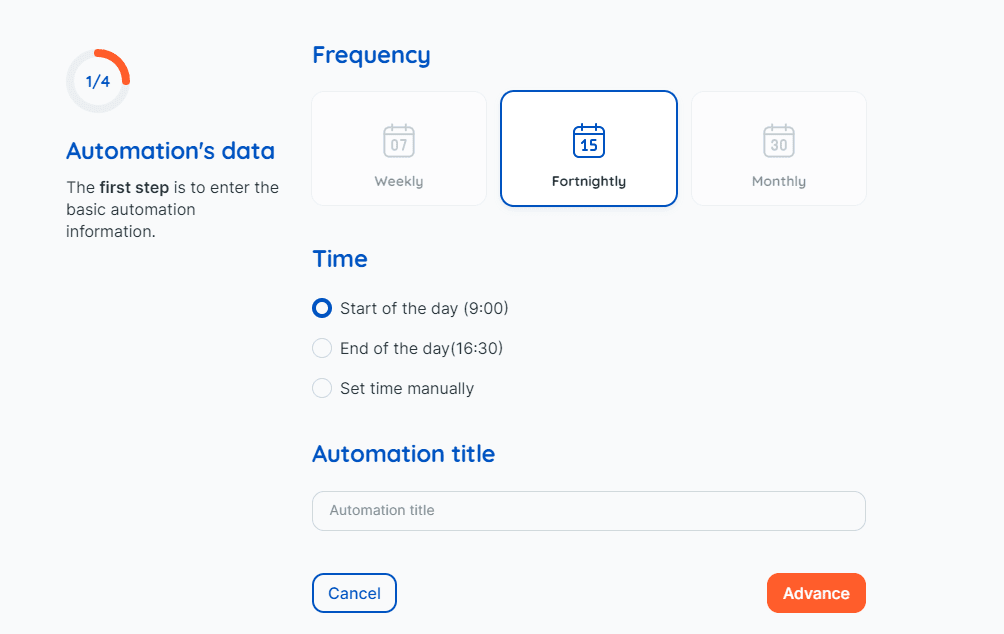
- Set how often your automation will happen (weekly, fortnightly or monthly), time (start, end of day or any other time you prefer) and choose a name to identify it.
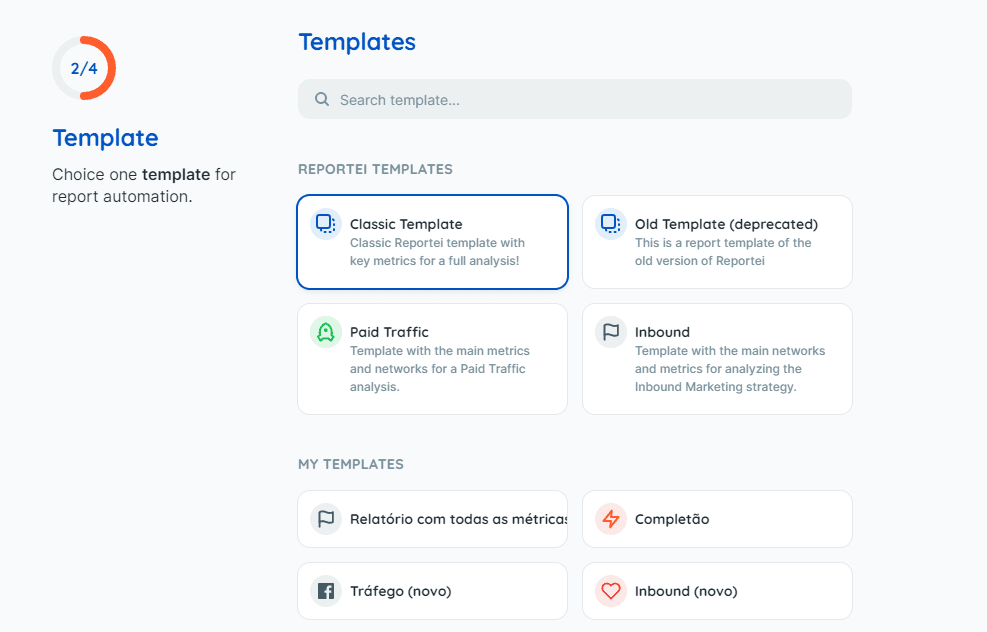
2. Select a template, it can be one of the Reportei or one of your templates:
- Determine which period you want to analyze (previous month, week, or fortnight, for example), social media integrations, and report details (headline and subhead).
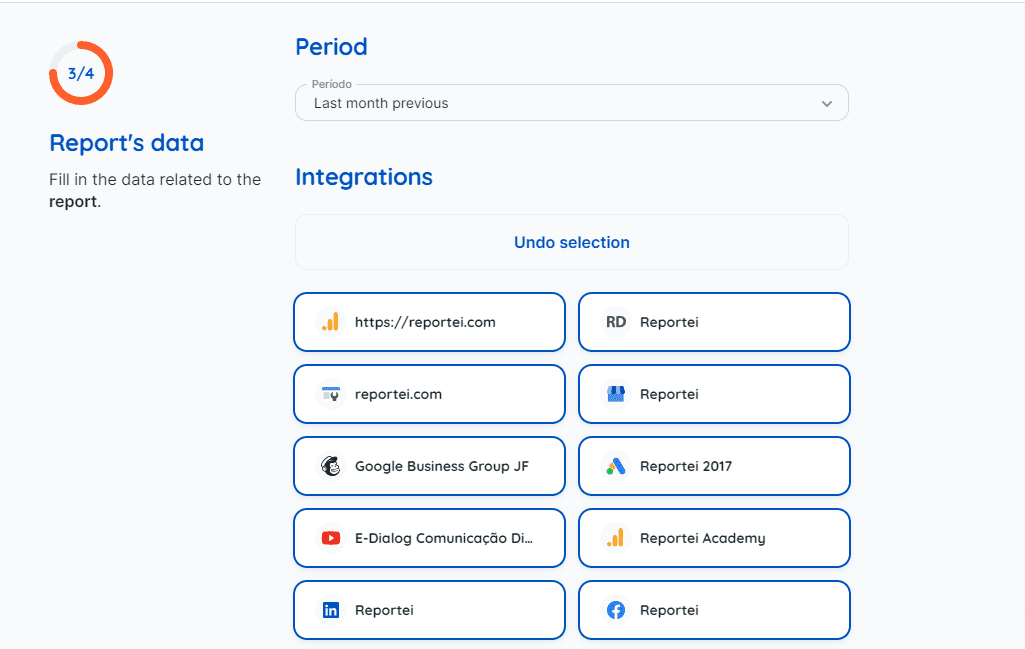
- Choose how you want to be notified that the report was generated: in-app (sends a message through the Reportei app), email (to yourself or someone on your team) or client email (where it is possible add sender, recipient, subject, custom message and who will receive the email reply).
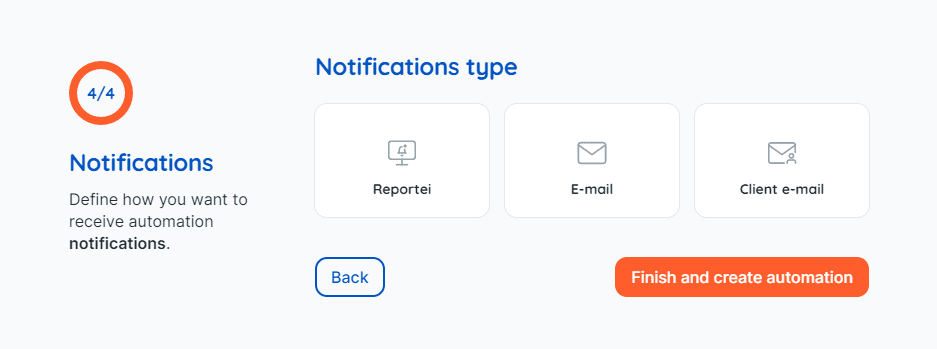
After that, click the button “Finish and create automation” to save it to your customer’s account. And finally, click on the “play” button to activate the automation. To check the ones that were created and their specifications, just access the “Automations” page again.
On this page, you will find the defined settings and some possible actions, such as pausing an automation for a while, generating a report at that moment, editing or deleting.
See how to create an automation here: https://youtu.be/WllBrCSaiEY
Any questions during the process, please contact our team in the Support chat.